Mould Making

 Today I finally got my hands really dirty in the studio for the first time. I had gone in at 10.30 am to learn to make a mould from the studio techician/supervisor, Grant before my 2 pm lecture. As I was a greenhorn at Ceramics, Grant had to teach show me step-by-step how to do that.
The first epiphany I had in the studio was to see everything in negative space rather than positive space. For the uninitiated, think of a jelly mould. The physical mould itself is a positive space. The space inside the
 mould where you would pour your jelly mixture into, forms a negative space. When the jelly is set and you plop it out, it is a positive space. Making a mould is pretty much thinking in negative space. Took me 15 minutes before the concept sank in and then I started to see how the form was going to take shape.
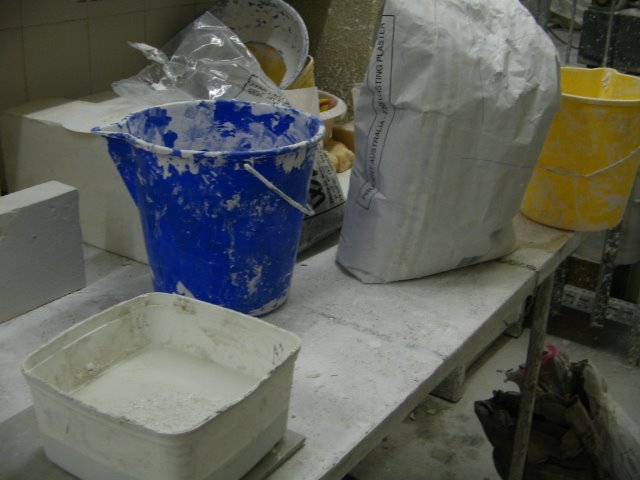
Mould making takes a longer time than I thought. Mixing the plaster powder with water to the right consistency was not easy. Of course no one used the weighing scales although the formula was pasted on the wall. Grant taught me using the time-tested "through experience" method of using "the eye". And the hand too, feeling the mixture, shaking your hand through it to "agitate" it and finally lifting your fingers up to see the consistency of the trickle. Plaster powder is bad for the lungs, and we were supposed to wear a mask. However, OH&S guidelines were conveniently ignored, but I think I would bring in a handkerchief or a scarf the next time, considering that I only managed to make one mould in the 3 hours I was in the studio, I would be spending a lot more time breathing in plaster powder. (I had to throw away one batch of the plaster because I waited too long and it started to set and I couldn't use it.)
I rolled out clay using the slab roller, an ancient-looking machine which looked like it belonged in a 19th Century barn. The sheet of clay was then cut to size and used to form a frame for the mould. Bits of clay were stuck at crucial fault lines to ensure that the plaster wouldn't leak out when it's poured in. Finally when one is happy with the reinforcements, the plaster mixture is then slowly tipped in, making sure there isn't (too many) air bubbles
 introduced.
Now the finished mould is sitting there drying out. I have not opened it up yet to see if it's successful, I think I would leave the honour to Grant next week. In the meantime, I think I will be spending Saturday in the studio attempting to make the second mould all by myself - unsupervised.
posted by Bo-Bo Gal at 8:56 pm
![]()
![]()

0 Comments:
Post a Comment
<< Home